Painting and Touch-Up Techniques for Homeowners
Nothing refreshes the look of your home more than a new coat of paint. Whether you’re tackling a full room or just touching up scuffs and chips, painting is one of the most budget-friendly DIY projects with high visual impact. However, it’s easy to make mistakes that leave your walls looking worse than before. With proper preparation and techniques, homeowners can achieve professional results without hiring a contractor.
Step-by-Step Guide to Painting and Touch-Ups:
1. Choose the Right Paint
Use high-quality interior latex paint in the same sheen (flat, eggshell, satin, etc.) as the original. Bring a paint chip or sample to the store for color matching.
2. Prep the Area
Remove furniture or cover with plastic. Use painter’s tape around trim, outlets, and light switches. Clean the surface with a damp cloth to remove dust and oils.
3. Repair Imperfections
Fill holes and cracks with spackle. Let dry, sand smooth, and wipe down the area. Prime all repaired spots before painting.
4. Stir and Pour Paint Properly
Mix paint thoroughly. Pour a small amount into a tray and use only what you need to avoid spills and drying.
5. Cut In First
Use an angled brush to cut in along edges and corners. This creates a clean border for your roller.
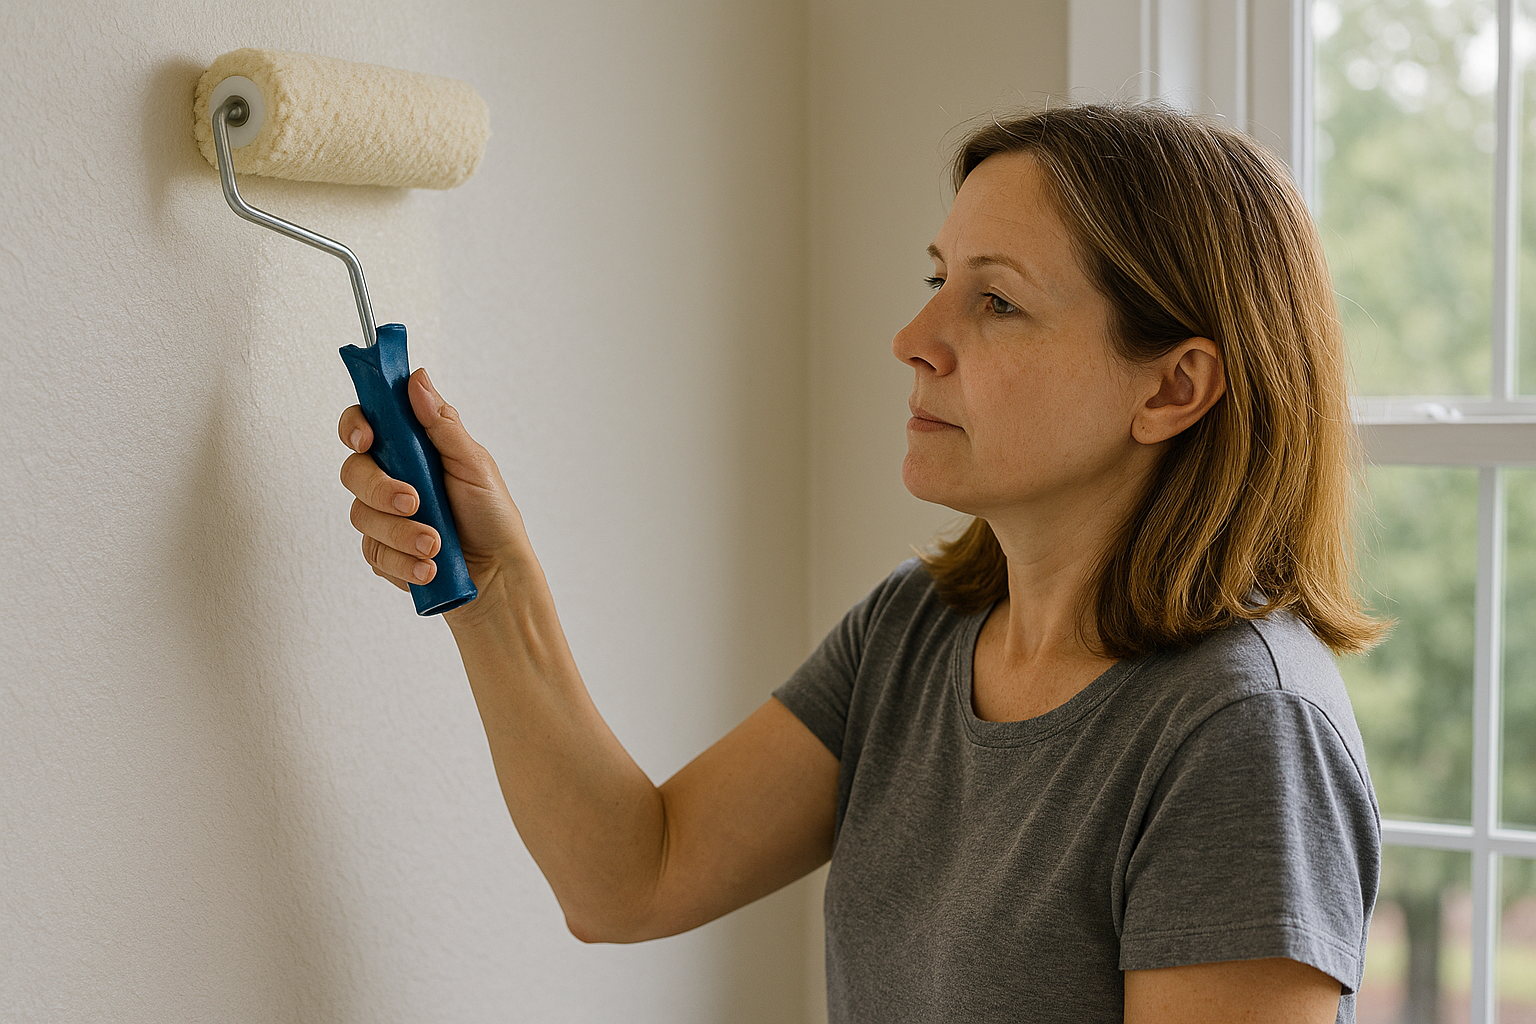
6. Roll in a “W” Pattern
Use a roller to apply paint in a “W” shape, then fill in the area. This ensures even coverage and prevents streaks.
7. Blend Touch-Ups
For small touch-ups, use a foam brush or small roller and feather the edges to blend. Avoid overloading with paint.
8. Allow to Dry and Recoat
Check drying times on the paint can. Apply a second coat if needed for uniform finish.
Maintenance Tip:
Keep leftover paint sealed and labeled for future touch-ups. Store it in a cool, dry place away from direct sunlight.
Contributed by Moreways Solutions LLC. If you need our help, contact us today.